Fallout 4 Styled Pipe Pistol
My first gaming gun build, trying to use real materials and techniques.
Get Prepared
What I was setting out to do is make the pipe pistol replica out of genuine materials. Since it is a crudely fashioned weapon, I also have been able to use only tools which you would expect to find in the The Commonwealth wastelands. The first step is to print out a image and try to scale up the dimensions. My first guide was to select 16mm steel tube for the gun barrel. This is a good size tube for holding a nerf dart, so I might be able to make a firing mechanism to go with it (it works.. but not very well).
The dimensions scale up nicely to something which feels about the right size. In the fallout universe it is a crude handmade weapon, so I take this as permission to alter some things, both to make the build process easier and to make a firing mechanism that works.
Measure up the dimensions from drawing
Make the Wood
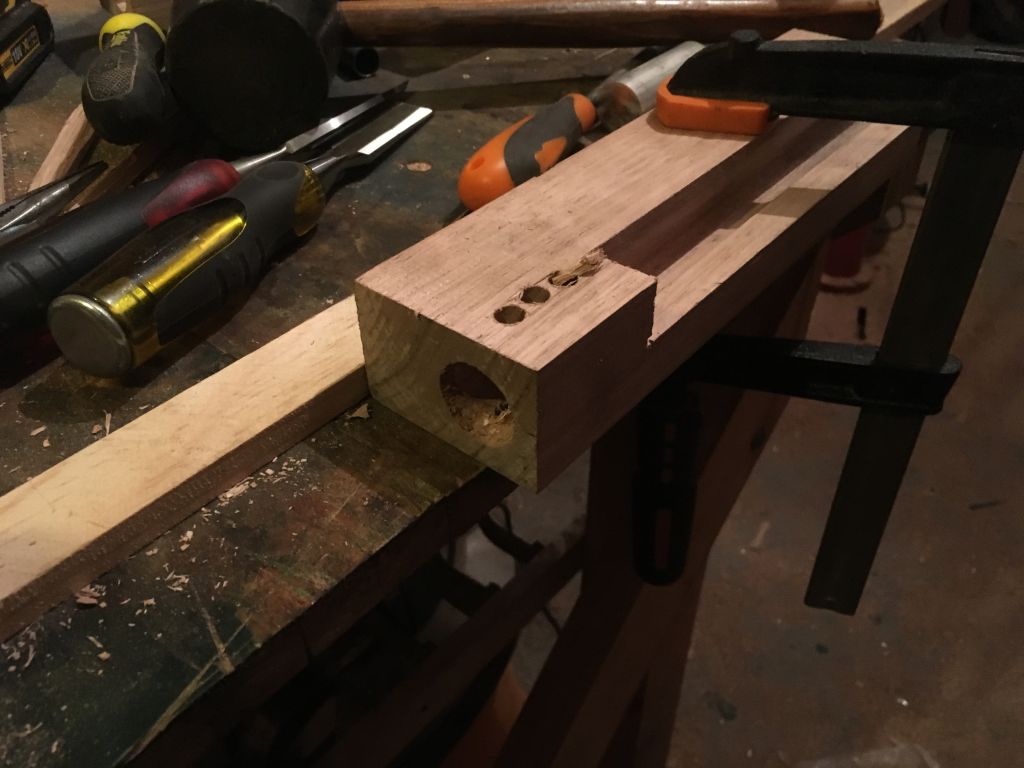
Making the wood turned out to be the trickiest part of the whole build. The way the wood is drilled out for the barrel to sit takes a lot of careful setting up and luck. The hole needs to be drilled first- you can't make the hole once the corner part is cut away. A long 16mm Auger drill bit is just long enough to reach the depth of 210mm I need to drill. I do a fair bit of work to line the piece up square in a pedestal drill press, which is able to start the hole out hopefully lined up straight. The press can only go 8cm deep, so I next remove the wood, clamp it to a table, and finish the hole with a hand drill. With a bit of care and a good quality drill I can manage to get the rest of the hole drilled out straight.
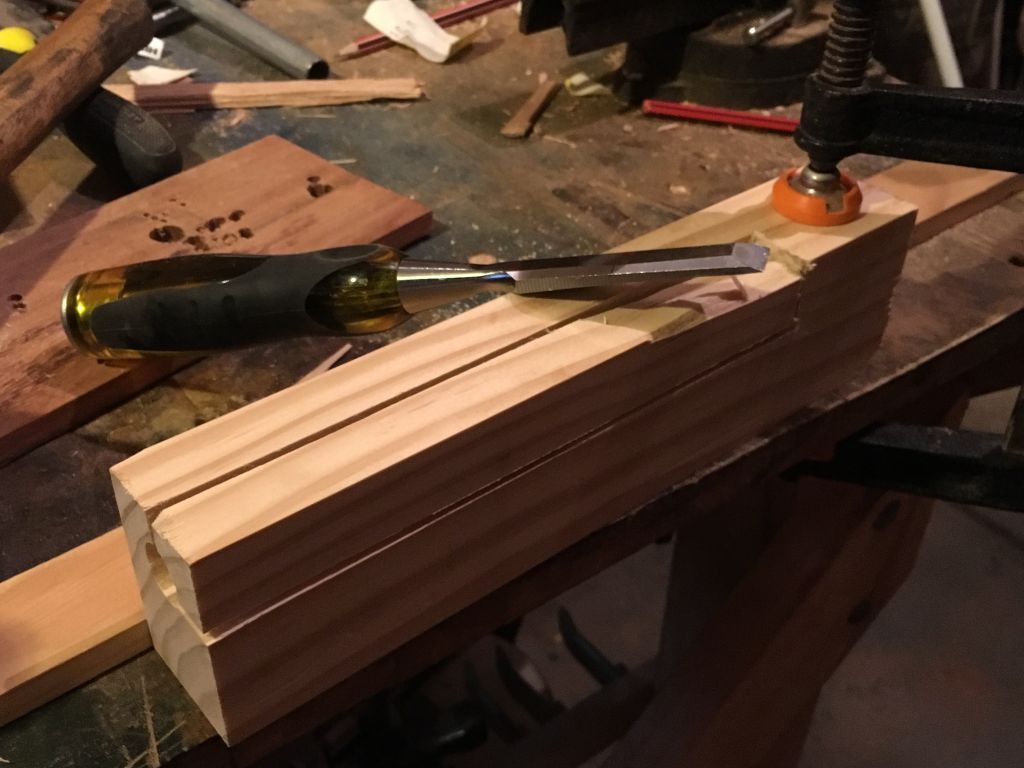
To cut out the corner part, first I setting up a table saw to the right depth, mark on the table how deep I want to make the cut, then make the two cuts for taking out the corner section. Using a chisel the material is cleared out.
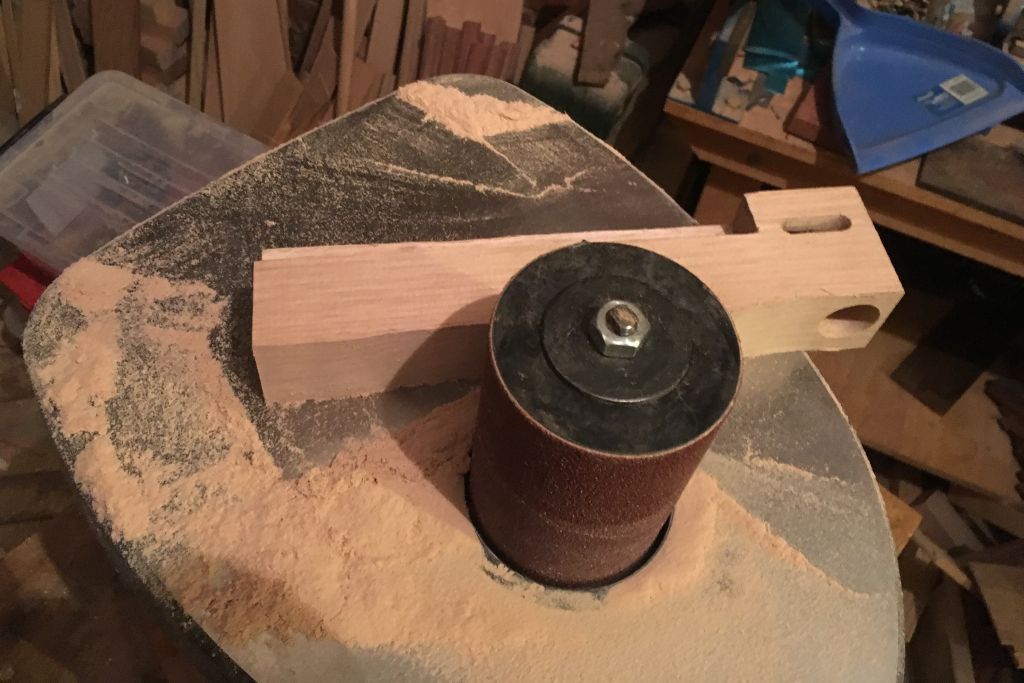
Some more drilling and chiseling is done to make holes for the handle and firing mechanism, and finally a drum sander is used to shape the wavy edges along the bottom. A final sanding around the edges and faces is done with 120grit sand paper. I'm not trying to make a smooth finish.
The series of photos are of 2 different pieces - one is oak and the other is pine, hence the different appearance between images.


Working With Steel
At first I though the steel was going the worst part, but it ended up being the simplest part of the whole build.
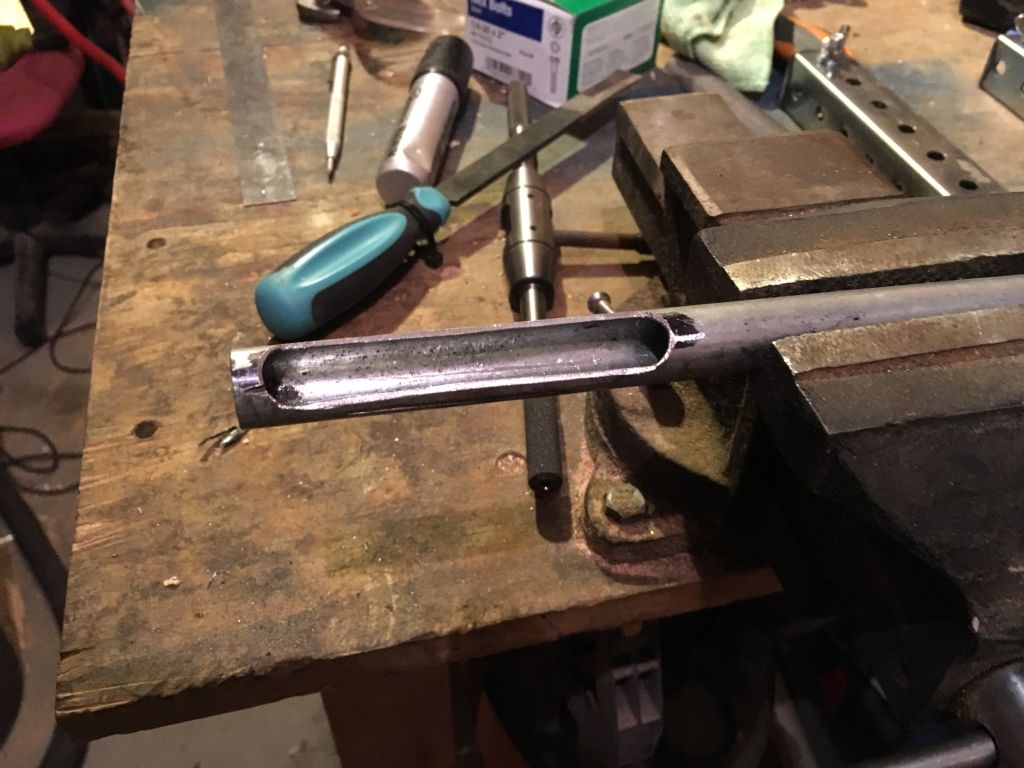
First the tube for the barrel was cut to length and drilled with 2 holes at either end of where the bolt slot will go. Then the slot was cut out with an angle grinder. The edges of the slot were straightened and cleaned up progressively by grinder-file-dremel. The inside of the tube has some kind of seam running through it so I used a reamer attached to a drill to clear that out too.
The handle was bent out of 3mm thick 25mm wide steel flat. I found this width to be the most comfortable to hold. I built a simple bending rig which I mounted to the bench and did the bending by hand. Because if the crude bending device I have I am not able to do the sharp corners found in the source drawings, but a raider out in the wasteland might not have a bender near by either, so I think the shape I have fits with the realism. The bent handle was then bolted to 6mm steel plate which will easily screw to the wooded body of the gun.
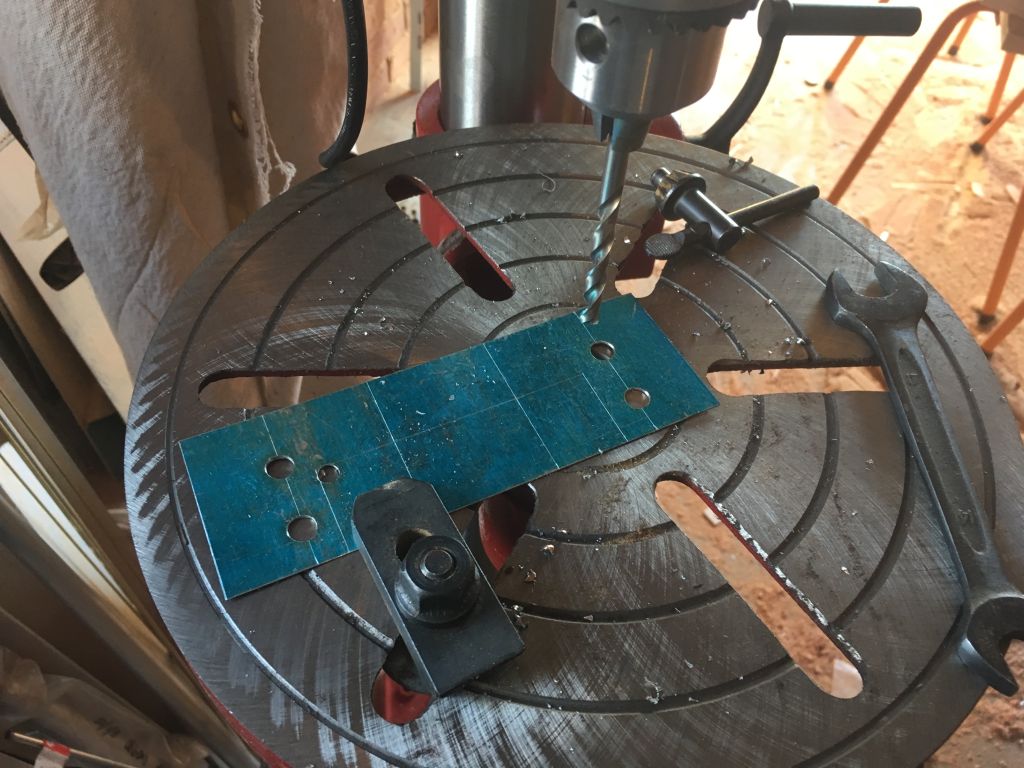
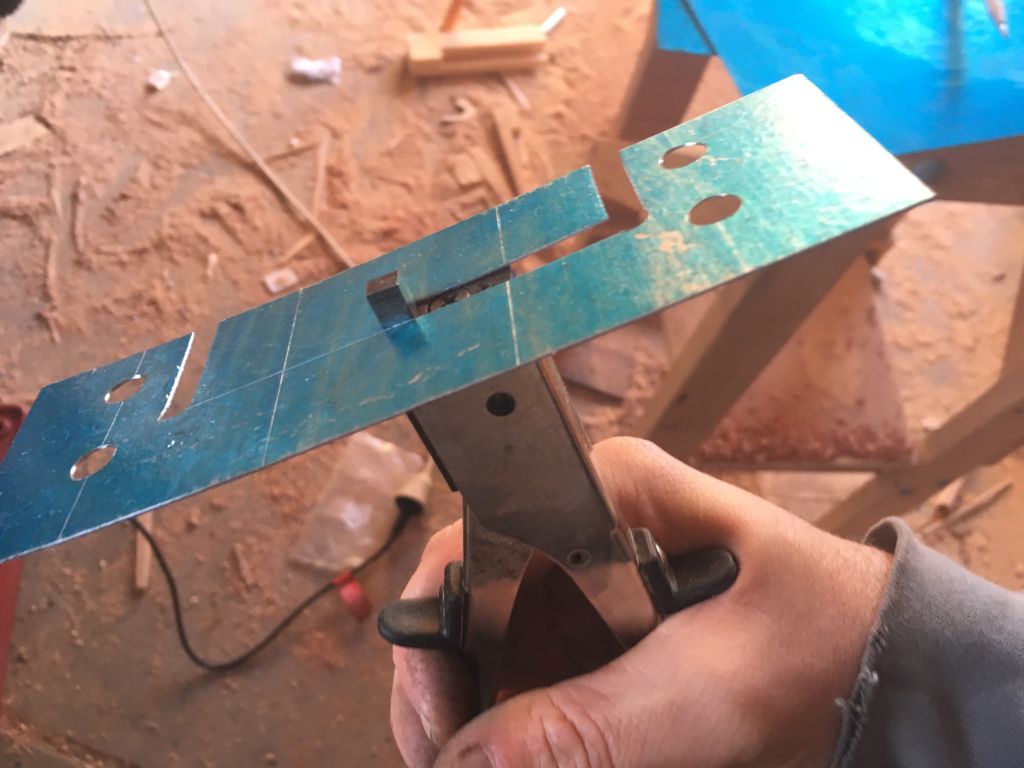
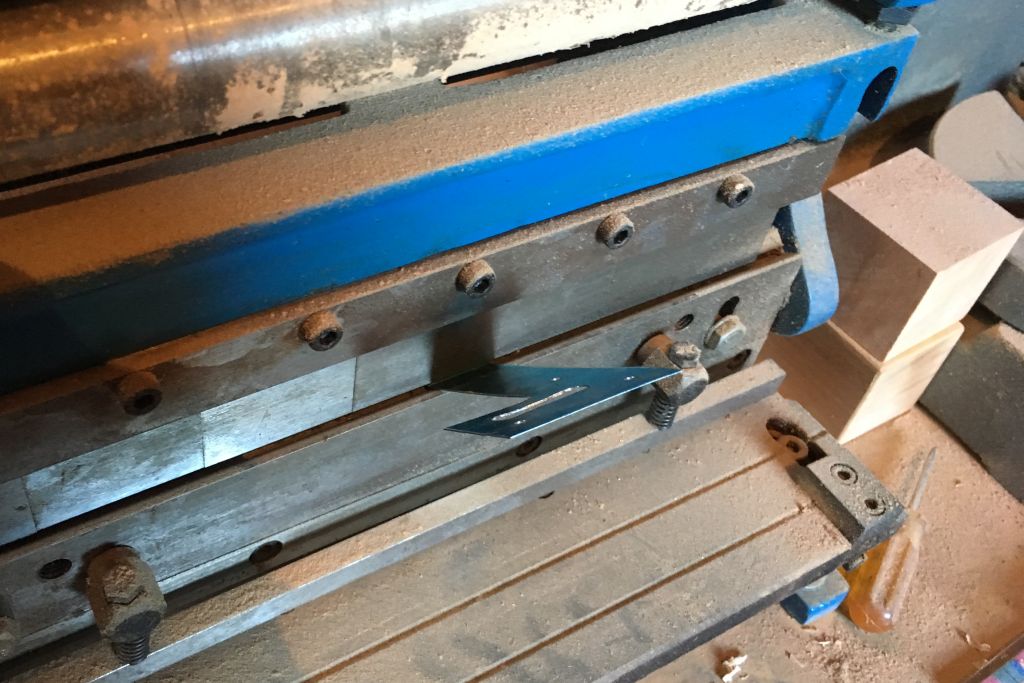
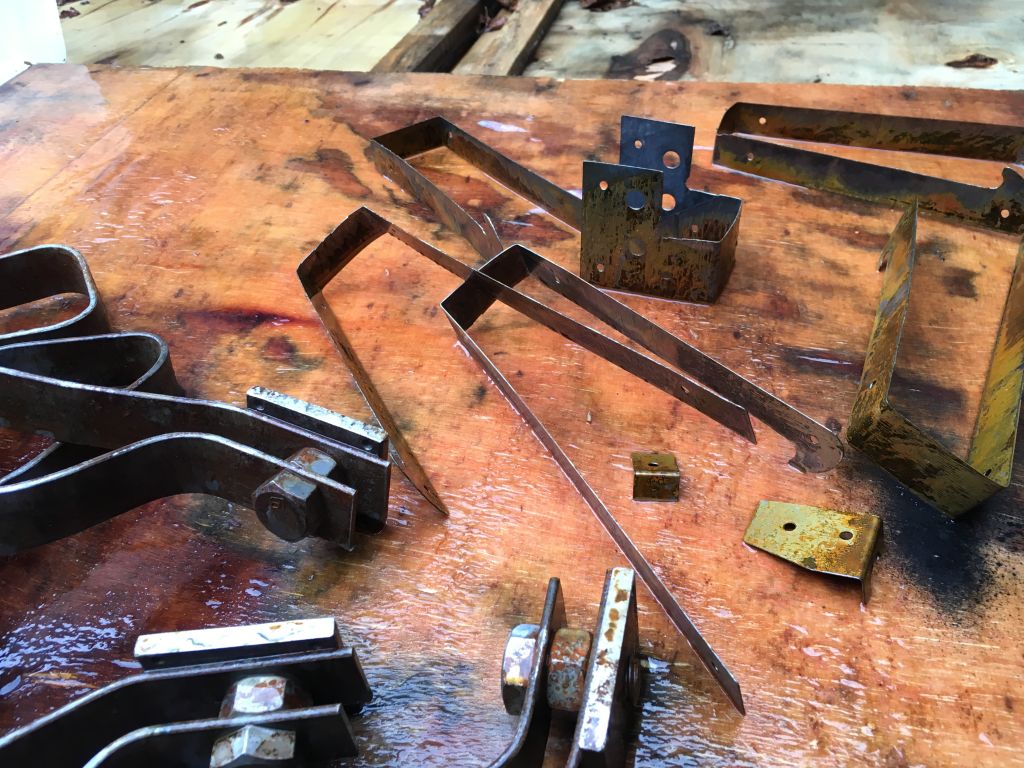
For the wrapped around steel parts, I marked the patterns out on some roughly 1.2mm thick steel sheet. I drilled holes out for the screws, and also put holes at the corner points so (a) I have guides to cut to and (b) I wont accidentally overcut in to the corner and make look bad. I used a combination of metal shear and nibbler tool which made easy work of cutting out the shapes. My mini pan brake bent the corners nicely.
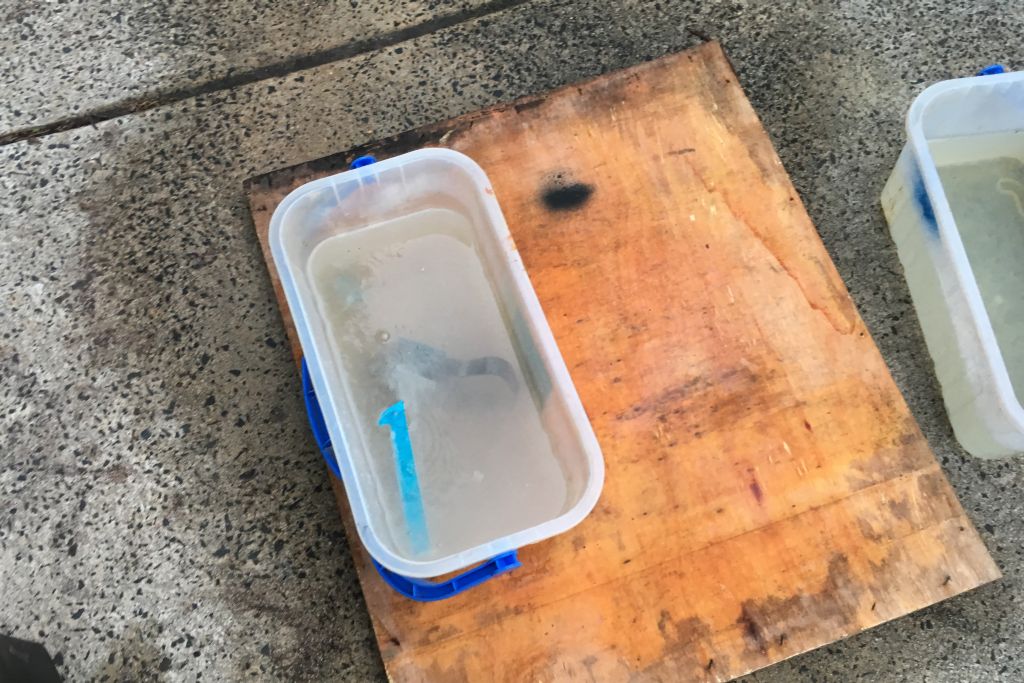
Now for the fun part of rusting the steel! I mixed up some hydrochloric acid with water at about 10-20%, only by guess- no measuring. The parts were left to soak for 30-60 minutes. The purpose of this soaking was to etch away any blacked or zinc coated surfaces. This is why I didn't care it the steel was galvanized or anything like that when I bought it. The etching also smooths out any sharp edges or burrs. I found the blue markout dye acts as a bit of a mask in the acid, so washing it of with acetone first is needed in future.
After a soak the parts were pulled out, given a little hose, and left to sit and rust. Rust will be noticeable after a couple of hours, but leaving it out overnight really rusts it good. When it has rusted up enough I give the a dip in a solution of caustic soda to neutralize the acid and stop the rapid rusting, then rinse them off. I also rusted up a selection of screws.
The gun barrel wasn't rusted as this ruins the inside. I just gave it a scrub in the caustic soda to clear off any marks and brighten it a little.


Making trigger mechanism
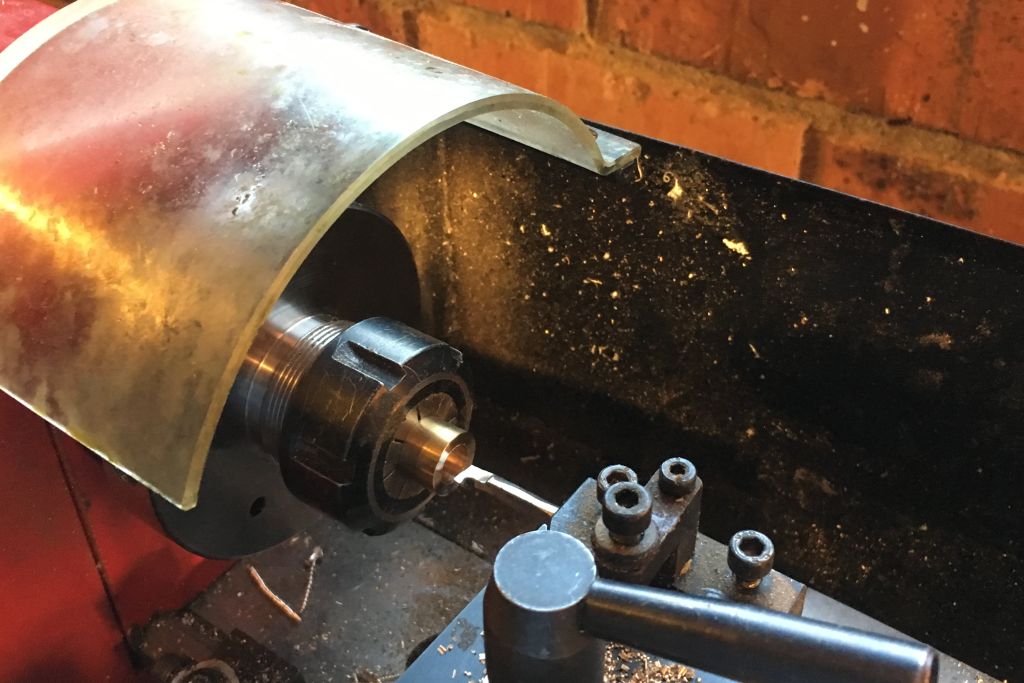
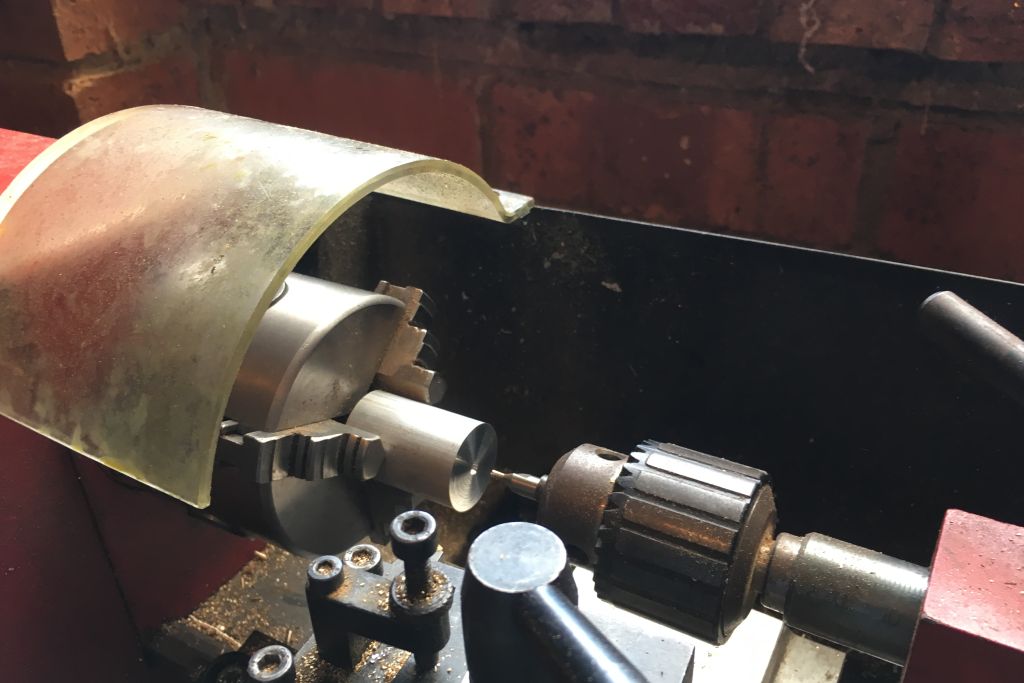
The triggering mechanism involves a lot of turning and tapping holes. While I like turning, the whole process is a massive pain in the arse so I wont go over it much. The parts are mostly brass and aluminium with a little bit of delrin plastic. As each bit of wood ends up being drilled out slightly different, these need to be machined to size to fit the specific piece.
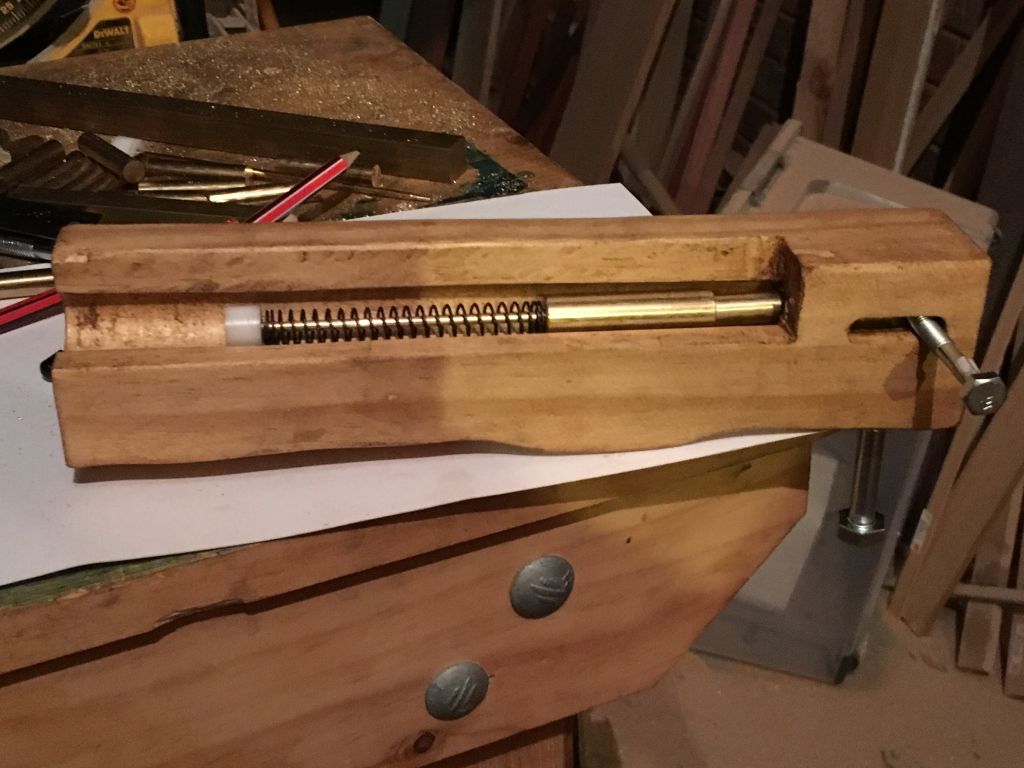
In my current design I have something which can shoot a nerf dart, but it is not 100% reliable and doesn't shoot very well. But I think just having a mechanism that can be cocked and fired without any darts still makes a nice costume piece. The parts all assemble nicely and I am at least happy with the aesthetics of the bolt action. The spring is not in the same position as in the game, but only a minor difference.

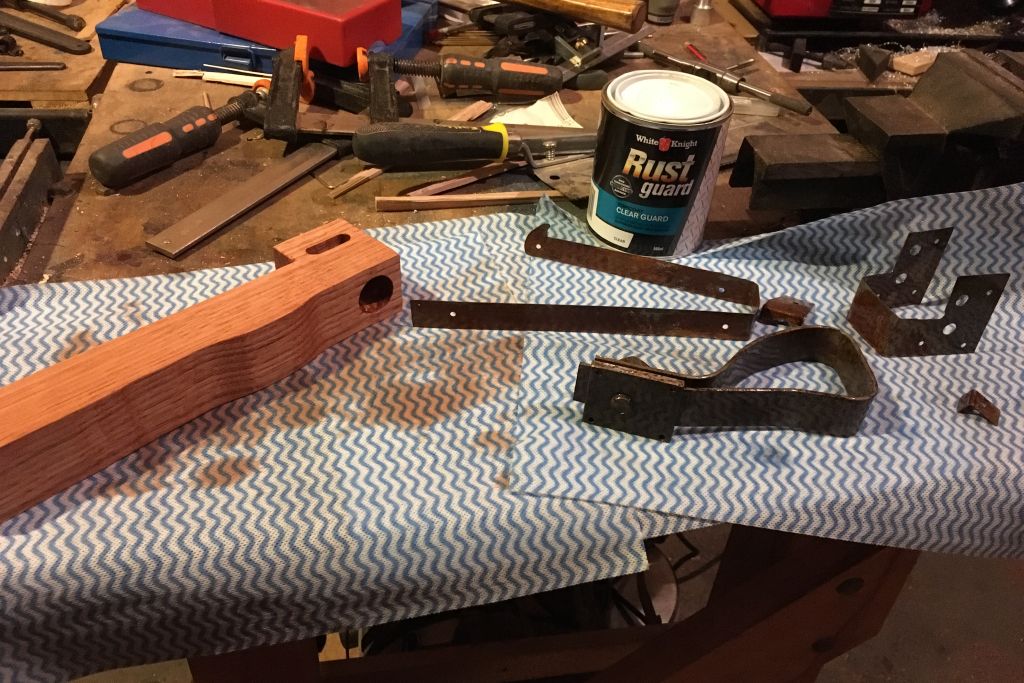
Finishing
Finally everything is ready to be finished off. The wood is given a dark stain colour and the steel pieces are given a layer of clear coat rust inhibit to seal then off. After drying the first step is to fit the trigger and handle mechanism. After that the rest of the steel can be screwed on. The remaining parts of the firing system can be placed into the barrel, with the bolt sticking out the side securing everything in place.
The front is finished with some steel welding wire bent around. The whole reel of the wire was given a dunk in the acid so it should also be a little rusted.
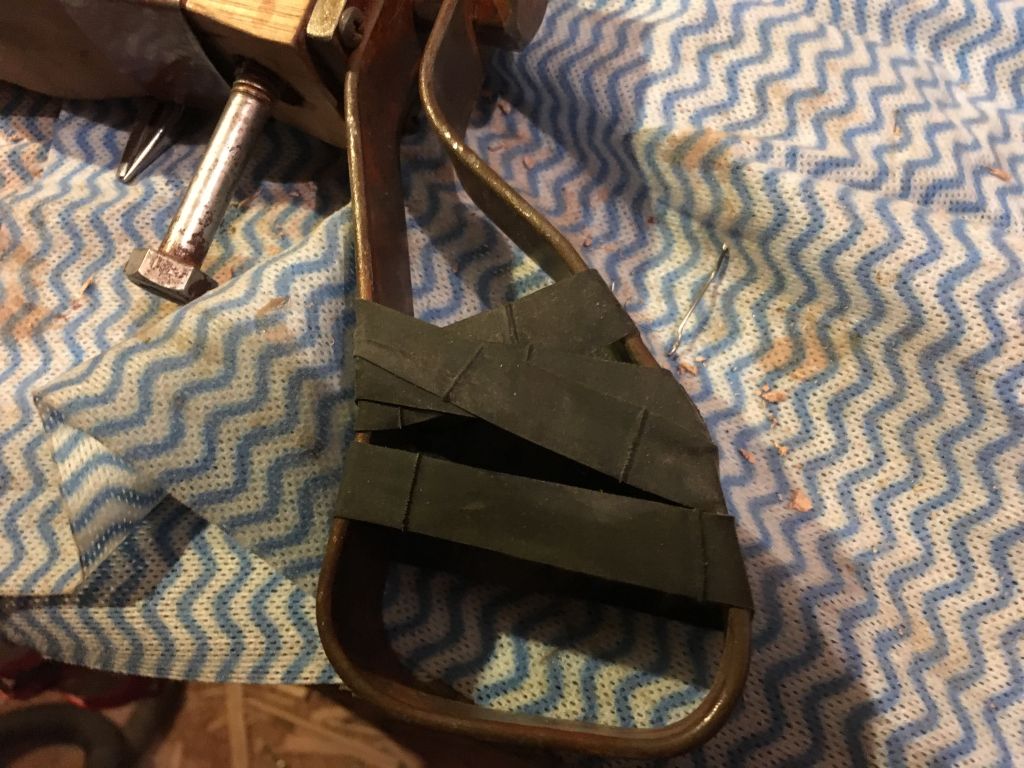
the handle is finished off with the rubber ranger bands. Ranger Bands don't seem to sold in Australian army surplus stores, however the screenshots of the pistol look like the bands have seams and are possible just cut from a tire tube. I had an old bike tube that fitted perfectly.


Finished!
With the gun now finished, I built a nice crate and laser cut out some acoustic foam to look professional. The foam cuts real easy in the laser cutter, even up to 50mm thick. I also added a couple of my replica ammo boxes for decoration.
The final gun fits in the hand well, and weighs just under 1kg, so it has a good sturdy feel. It really doesn't work as a nerf gun, but looks great as a costume piece.